RGB USB Condenser Mic Setup Tips for Streaming & Gaming
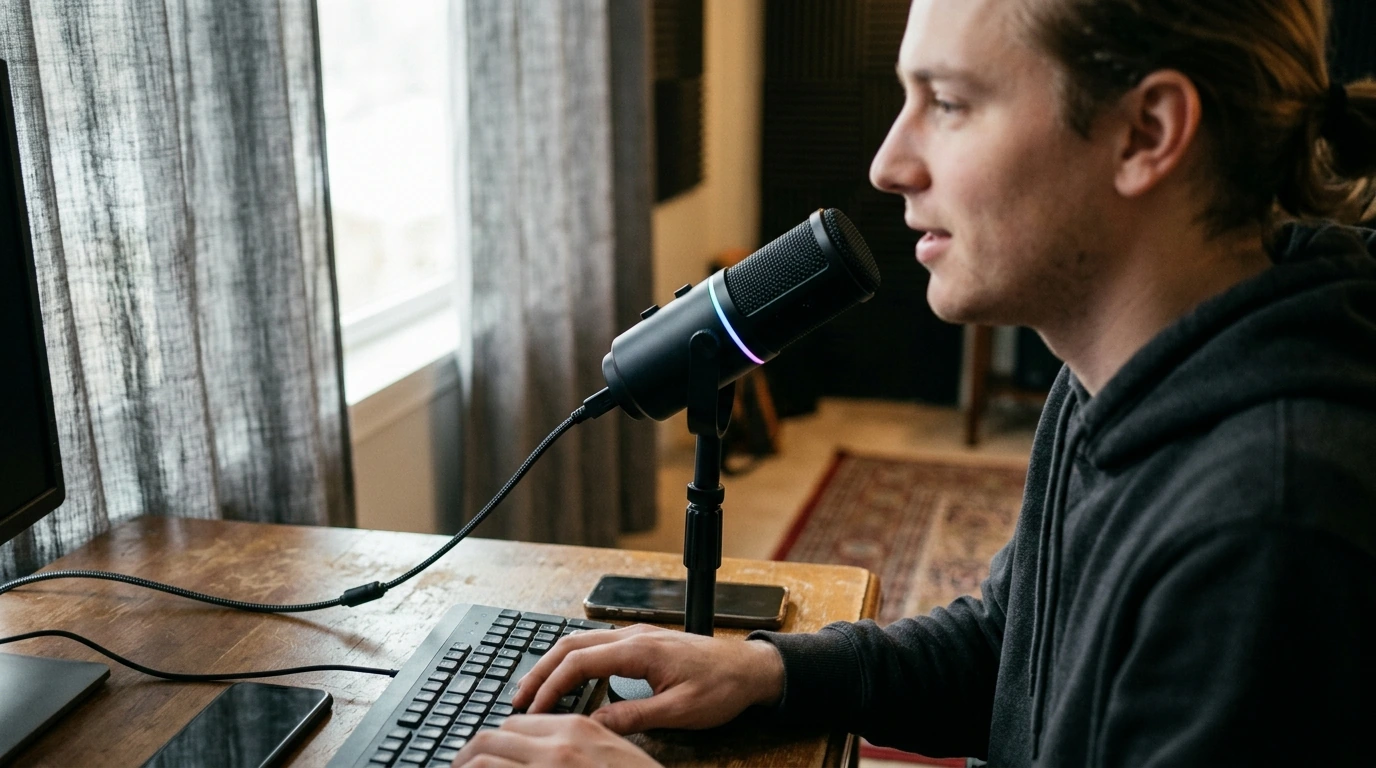
RGB USB Condenser Microphone for Streaming, Recording, Gaming & Studio
A USB condenser microphone with RGB lighting keeps a desk setup clean while delivering clear voice capture for streams, calls, podcasts, and home recordings. The biggest wins come from simple placement, stable input levels, and a few room-noise habits that make any mic sound more “studio” without complicated gear.
What This Microphone Is Best For
- Live streaming: steady voice presence over gameplay, screen shares, or just-chatting sessions.
- Gaming chat: clearer comms with less need to crank gain (and accidentally add hiss).
- Voice recording: narration, tutorials, online classes, and quick demos where speed matters.
- Starter studio work: scratch vocals, acoustic instruments, and content creation where USB convenience is preferred.
- Desk aesthetics: RGB can match PC lighting themes without changing how audio is captured.
Sound Quality Basics That Matter
Condenser detail (and what it also captures)
Condenser mics tend to sound more detailed and “open” than many headset mics, which is excellent for intelligibility. The tradeoff is sensitivity: they’ll also pick up more of the room, so placement and noise control matter as much as the mic itself.
Pickup pattern awareness
Aim the active side of the microphone toward your mouth. If your keyboard is loud, keep it slightly off to the side of the mic rather than directly in front of it. Small angles can make a noticeable difference in how much clacking gets into the track.
Distance, angle, and consistency
A reliable starting point is 6–10 inches from mouth to mic. Angle the mic slightly off-center from your lips to soften plosives (“P” and “B” bursts) while keeping clarity. The most “professional” sound often comes from consistency: keeping a fixed distance reduces volume swings and minimizes the need for heavy compression.
Room impact: quick wins
Hard surfaces bounce sound. If the mic sounds echoey, add soft items nearby (curtains, a rug, or even a folded blanket on a reflective desk area). For technique basics that translate well to home setups, Shure’s guidance on vocal mic placement is a solid reference: Microphone Techniques for Vocals.
Setup in Minutes: USB, Monitoring, and Controls
USB mics are popular because they skip the audio interface and just work. For best stability, connect directly to the computer when possible; if you experience dropouts, avoid unpowered hubs and try a different USB port.
Quick Setup Checklist
| Step | Recommended Setting | Why It Helps |
|---|---|---|
| Select input device | Choose the USB mic in OS + app | Prevents the system from using a webcam or headset mic |
| Set distance | 6–10 inches from mouth | Balances warmth and clarity while limiting room noise |
| Adjust gain/level | Speak normally; keep peaks below clipping | Avoids distortion and harshness |
| Position the mic | Slightly off-center from lips | Reduces plosives and breath noise |
| Reduce reflections | Add soft items nearby | Less echo; clearer voice |
Levels you can trust
Set your input so normal speech is comfortably audible and louder moments don’t clip. If you want a practical walkthrough of metering and safe levels, Audacity’s documentation is a helpful baseline even if you record in other apps: Audacity Manual.
Mute and monitoring
A one-touch mute is ideal for coughs, background interruptions, or quick privacy on stream. If your mic includes headphone monitoring, use it lightly so you can hear when you drift off-mic or start speaking too loudly.
RGB Lighting: Useful, Optional, and Easy to Manage
RGB is mostly about experience, not audio. Subtle lighting can make your setup feel cohesive and can help indicate power or mute status in low light (depending on the lighting behavior). For on-camera use, avoid overly bright modes that reflect in glasses or add glare to monitors.
For long sessions, dimmer effects are easier on the eyes and keep attention on the sound. Also, route the USB cable away from high-power adapters and power bricks when possible to reduce the chance of electrical noise creeping into a less-shielded setup.
Getting a Clean Voice in Real Rooms
Plosives and sibilance
A pop filter or foam windscreen helps tame air blasts. If “S” sounds feel sharp, reduce high frequencies slightly with EQ rather than boosting presence further.
Keyboard and mouse noise
Noise reduction, gates, and compression
Light noise suppression can help with fans and steady hum, but aggressive settings can cause watery or robotic artifacts. A conservative noise gate can reduce room noise during pauses, but set it gently so quiet words don’t get chopped. Add mild compression only after your mic placement and gain are stable. If you use AI noise tools, NVIDIA’s overview explains what to expect and where it works best: NVIDIA Broadcast App.
Common Problems and Fast Fixes
When to Choose an Alternative Microphone
In-Stock Microphones to Consider
- RGB USB Condenser Microphone for Streaming, Recording, Gaming & Studio ($79.47)
- RGB USB Gaming Microphone with Noise Canceling & One-Touch Mute ($50.51)
FAQ
How far should the microphone be from the mouth for streaming and gaming?
Start at about 6–10 inches, then move a little closer if the room is loud or echoey. Keep the mic slightly off-axis from your lips to reduce plosives, and adjust gain so loud moments don’t clip.
Why does a USB condenser microphone pick up so much background noise?
Condenser mics are sensitive and capture more detail, including room reflections and distant sounds. Reduce background noise by moving closer, lowering gain, adding soft furnishings, and using light noise suppression or a gentle gate.
Do RGB lights affect microphone sound quality?
RGB lighting is separate from the audio path and shouldn’t change sound quality by itself. If noise appears, it’s usually related to USB power or cable routing, so try a direct USB port and keep the cable away from power bricks or noisy hubs.










Leave a comment